Table of Contents
Out of the box Slackware PXE Server
Slackware has added a PXE server to its installer since the 13.37 release. It is intended to provide an easy method for network installations of Slackware, provided you have one spare computer with a network card (not a wireless card!!!) This article describes the procedure for a network installation using the built-in PXE server, using the Slackware 13.37 installation media as an example (but it will work for later versions of Slackware just as well):
Requirements
A Slackware DVD or bootable USB stick, containing a complete set of Slackware package directories. A net-boot “mini-ISO” or a bootable Slackware CDROM are not sufficient because they do not contain all Slackware packages. The PXE server in the installer is not able to use an external package source - all packages have to be present on the boot media.
Starting the PXE server
- Insert the Slackware 13.37 DVD into the spare computer, and boot from the installation medium.
Alternatively you can create a USB installer using a Slackware DVD as the source (or use a full local mirror of a Slackware release tree), with the help of the “usbimg2disk.sh” script which you will find in the Slackware release's “usb-and-pxe-installers/” directory - * Boot the spare computer from the Slackware installation medium, and when this ends with a login prompt (see screenshot below), login as “
root” (no password required).
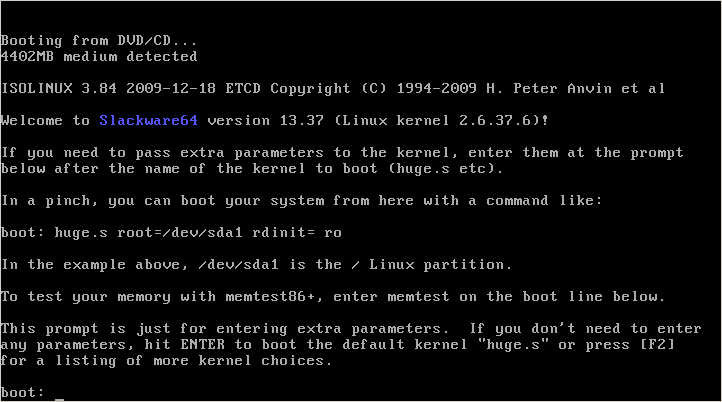
- Instead of typing the usual “setup” command to start an installation, you type “pxesetup” instead this time, in order to configure and start the embedded PXE server:


Overview
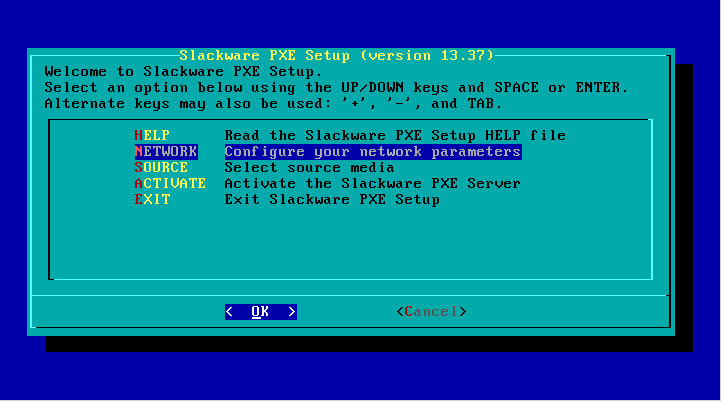
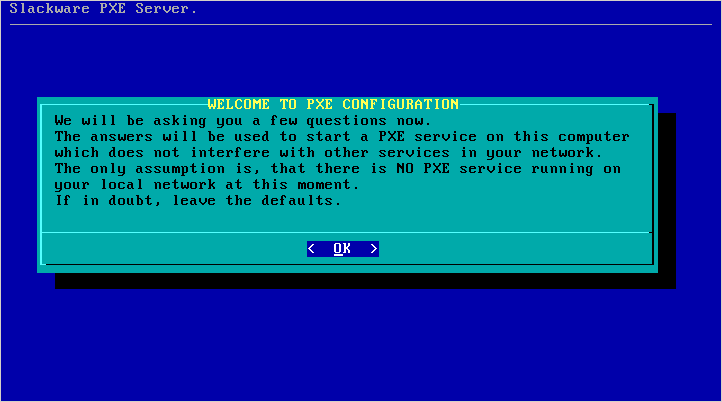
The “pxesetup” script will load a main dialog which is modeled after the Slackware setup:

There are four relevant main selections (apart from EXIT which will drop you back to the prompt): HELP, NETWORK, SOURCE and ACTIVATE. An explanation for these choices follows from the screenshots below, and you will see that there is surprisingly little for you to configure… it is very user-friendly.
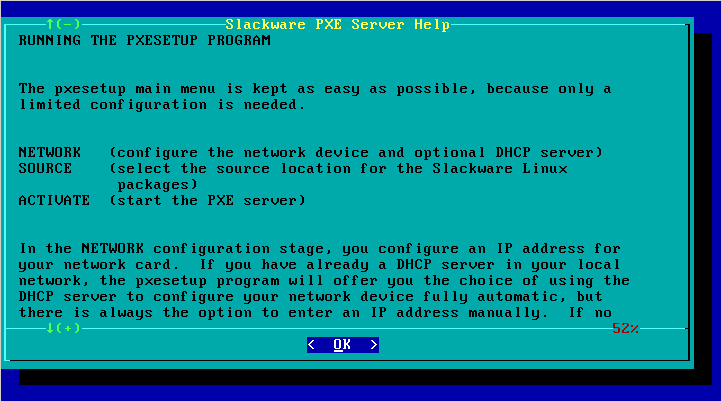
- HELP:
The HELP section should be self-explaining – it is the manual for the PXE server:

Configuring the PXE server
Use the NETWORK and SOURCE sections of the main menu to configure your PXE server.
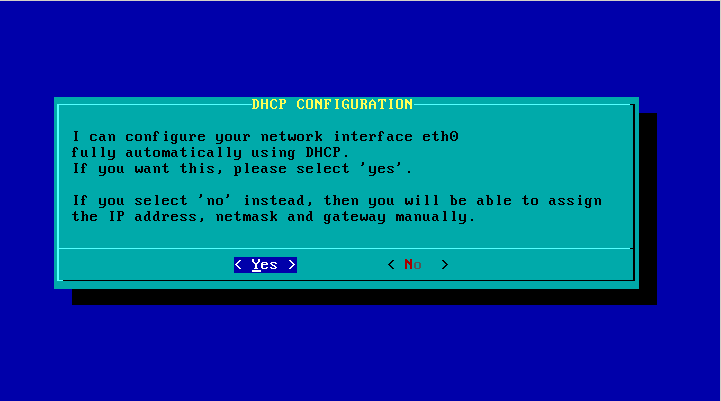
- NETWORK:
In the NETWORK section you configure the computer’s network card:
- If you boot this PXE server in a network where a DHCP server is already providing automatic network address assignment (in the typical domestic setup, it is the Cable/DSL router which provides the DHCP server) then pxesetup will prompt you to ask that DHCP server for an IP address. It saves you from typing IP addresses and netmasks. You can of course still decide to enter a specific static IP address even if there is a DHCP server available, by clicking “No”:
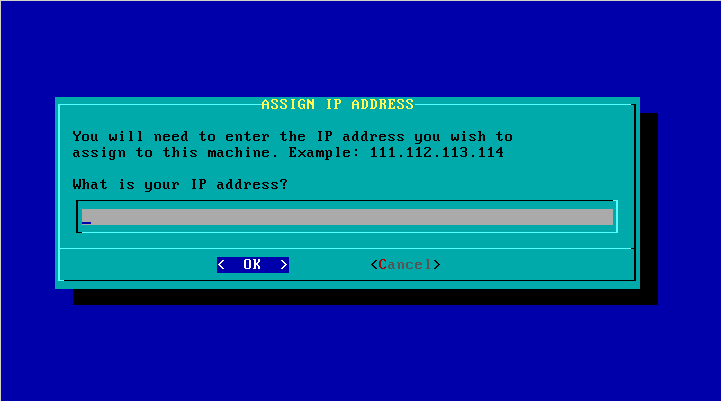
- If no DHCP server was found in your local network (Slackware’s installer checks this when it boots and before you even see the command prompt), then have no choice but to enter a static IP address, netmask and possibly (but not necessarily) a default gateway:
- After the network interface has been configured, you will see a number of dialogs that let you determine whether the installer should start a DHCP server or not. If your network already runs a DHCP server, then it should not be disrupted by a “rogue” DHCP server! You will have an angry network administrator at your desk in no time.
Instead, pxesetup is smart enough that it only provides the required netboot functionality by acting as a proxy DHCP server:
- A working DHCP server is required for PXE boot. So, if your network does not provide one, pxesetup will start its own built-in DHCP server and it will show you two additional dialogs in order to collect the required information:

- The setup program tries to make an educated guess about the range of IP addresses to be used if it is going to start a DHCP server. A dialog will present the proposed configuration. There are two configurable items in that dialog: the lower and upper values for the IP address range that will be used by the built-in DHCP server.
The IP addresses in this range will be available for the PXE clients that request a network boot configuration from the PXE server. Please check this address range, and if you think you have a computer in your network that uses an IP address in this range, you must change the values for the upper and/or lower values and resolve the conflict.
This range of IP addresses must not be used by any computer on your LAN !
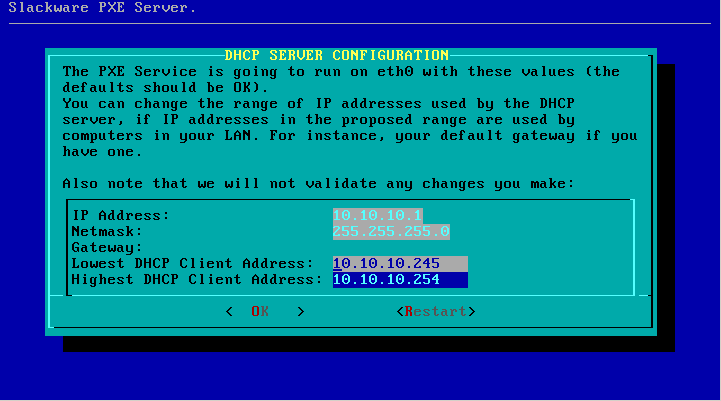
- If you are satisfied with the values, select “OK” to continue to the next section.
- SOURCE:
TheSOURCEsection uses the exact same dialog screens as you know from the Slackware installer. The only correct selection is “Use a Slackware DVD” (There is one exception which I will explain in more detail all the way down, and that is when you used the “usbimg2disk.sh” script to create a complete Slackware installer on a bootable USB stick):
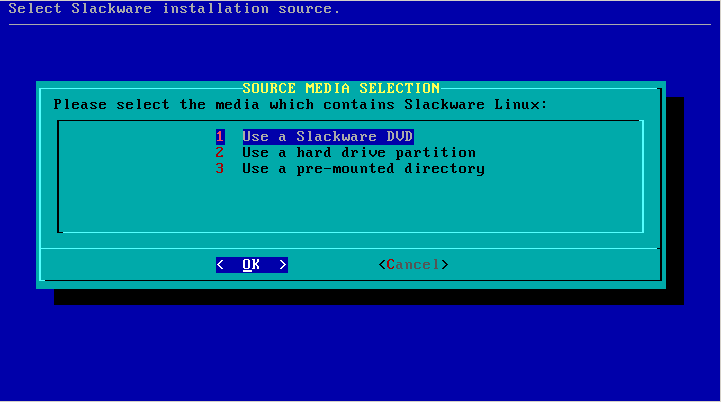
- The pxesetup program will find the Slackware DVD or CD and that’s it!
More information is not required and the PXE server will be started automatically. Another service is started as well at that moment: a HTTP server which will serve up Slackware packages to the clients that use our PXE server.
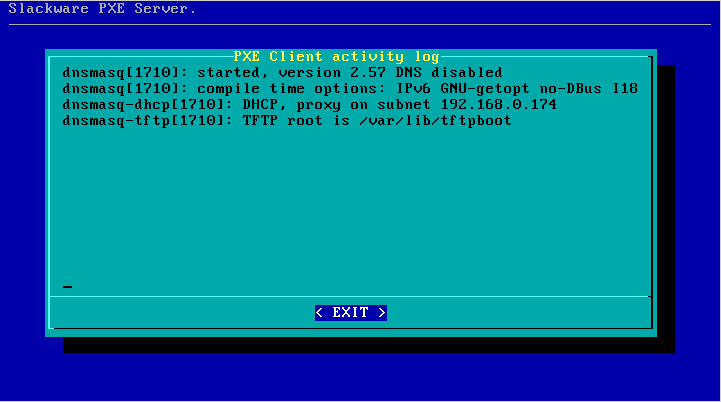
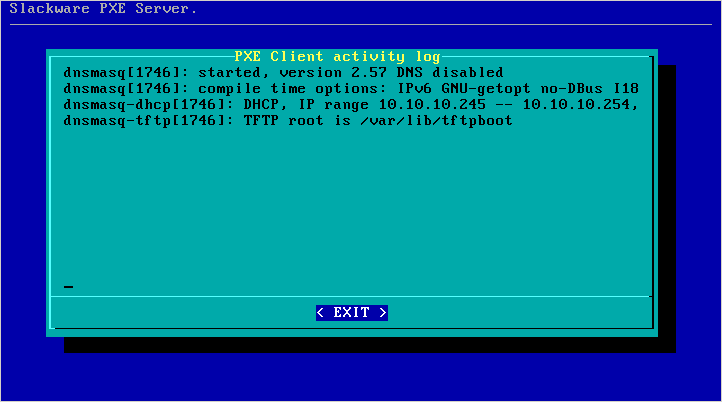
On-screen you will see the log file of the “dnsmasq” program which provides most of the netboot functionality. The first screenshot is the case where your network provides a DHCP server, while the second screenshot shows the situation where the Slackware PXE server has started its own internal DHCP server:
- You can press the “EXIT” at any time, which will kill the PXE services (DHCP, TFTP and HTTP). You can then restart these services from the main menu again, by selecting the
ACTIVATEentry.


PXE server works, what about PXE clients
There is no fun with a PXE server if you do not have PXE clients that use it to boot from so that you can install Slackware on them! Make sure that the computer that you want to install Slackware on is connected to the network with a cable, and power it up. In the BIOS (or using whatever method is available for that machine) select “LAN boot” and watch what happens when the computer boots. You will see a prompt that says:
Press [F8] for a boot menu…
Actually pressing the F8 key gives you two choices: continue with netbooting, or fallback to boot-up from the local hard disk. Or if you don’t do anything at all (takes 2 seconds only) your network card will start looking for a PXE server and the communication starts. This can be witnessed on the PXE server’s screen:

What happens next should all look pretty familiar: the Slackware welcome screen will appear and you can either press ENTER for the default kernel or make your own choice of parameters. The noteworthy part is where you get to select the package SOURCE. There is only one working option, and that is “Install from FTP/HTTP server“. After selecting this option, your computer’s network card will be configured using DHCP, and then you will notice that the questions for “URL of the ftp or http server where the Slackware sources are stored” and “What is the Slackware source directory?” have default values already filled-in! You should accept these values, since they are supplied by the PXE server!
The remaining steps should be familiar if you have ever tried installing from a HTTP server before.
Using a USB based installer instead of the CD/DVD
The “usbimg2disk.sh” script which you find in the “usb-and-pxe-installers/” directory on the DVD or any Slackware mirror, contains some functionality for making it easier to run the PXE server off the USB stick.
You need to create a full USB installer for this to work (“full” meaning that the USB stick is made bootable and all Slackware packages are copied to the stick).
If you boot this USB installer, the vfat partition on the USB stick (which contains the Slackware packages) will be automatically mounted on the installer's directory “/usbinstall”.
If you run “pxesetup” (or even if you run the normal “setup” by the way) and get to the point of selecting the package location in the SOURCE menu, you must pick option “3: Use a pre-mounted directory“. Actually, that item will be the default choice! When you select that option, you will notice that a value for that directory name has already been filled in.
All you have to do is to accept that directory name and you are in business.
Sources
- Originally written by Eric Hameleers